5
ENGLISH
SAFETY PRECAUTIONS
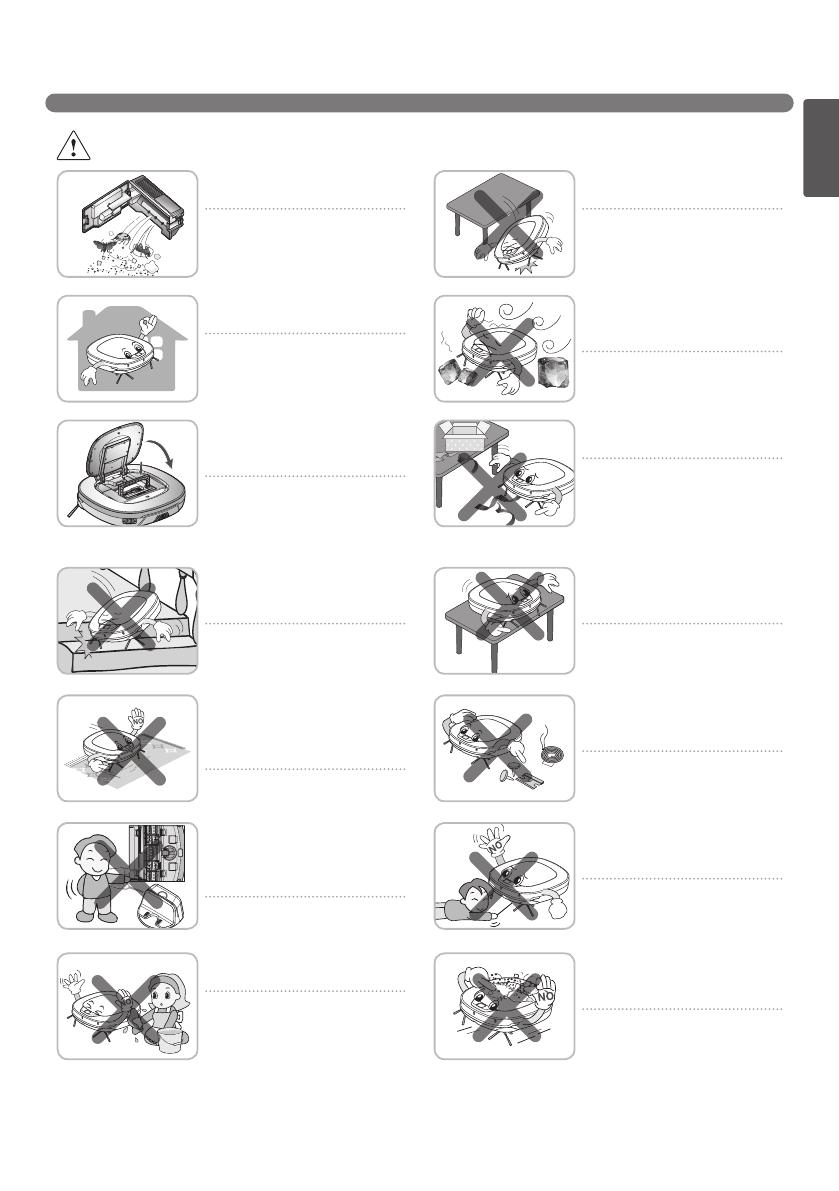
CAUTION
Frequently empty the dust bin
and maintain its cleanliness.
The dust collected in the dust
bin can trigger allergies and may
contain harmful insects.
Use the Robot Cleaner indoors
only.
Using it outdoors can cause
product failure and irreparable
damage to the unit.
Close the cover of the dust bin
on the main unit before starting
cleaning.
If the cover is not closed, it can
cause injury or product damage.
DO NOT use the Robot Cleaner
around a banister, staircase or
any other dangerous place.
Otherwise, the user or the
product can be exposed to
damage.
Do not drop the Robot Cleaner
or subject it to strong impacts.
Doing so can cause injury or
product failure not covered by the
warranty.
Do not expose the Robot Cleaner
to cold temperatures (less than
-5 °C) for a long period of time.
Doing so can cause product
failure.
Remove any cables or string from
the oor before starting.
Cable or string can get tangled
in the wheels of Robot Cleaner
and cause product failure or
the cord of an appliance can be
disconnected.
Make sure the Robot Cleaner is
not put on a table or desk, with
the power ON.
It may result in injury of the user
or damage in the product.
In rare cases, the Robot Cleaner’s
brush can damage the carpet. If
this happens, immediately stop
the cleaning operation.
When a carpet has long tassels,
the tassels can be damaged.
Do not let the main unit and
charging terminal of the home
station come into contact with
metallic objects.
Doing so can cause product
failure.
Do not put water, detergent, etc.
into the Robot Cleaner.
Doing so can cause product
failure. Do not put any water or
detergent on the Robot Cleaner.
If liquids get inside of the Robot
Cleaner, turn off the power supply
and contact an LG Electronics
sales agent or customer care
center.
Do not allow the Robot Cleaner
to sweep up liquids, blades,
thumb tacks, kindling, etc.
These items can cause product
failure.
Do not put sharp objects into the
opening of the Robot Cleaner’s
ultrasonic sensor.
Doing so can cause product
failure.
Do not use the Robot Cleaner
when the dust bin is completely
lled up.
Doing so can cause product
failure.


