CLIMATE CONTROL
COOLAIR
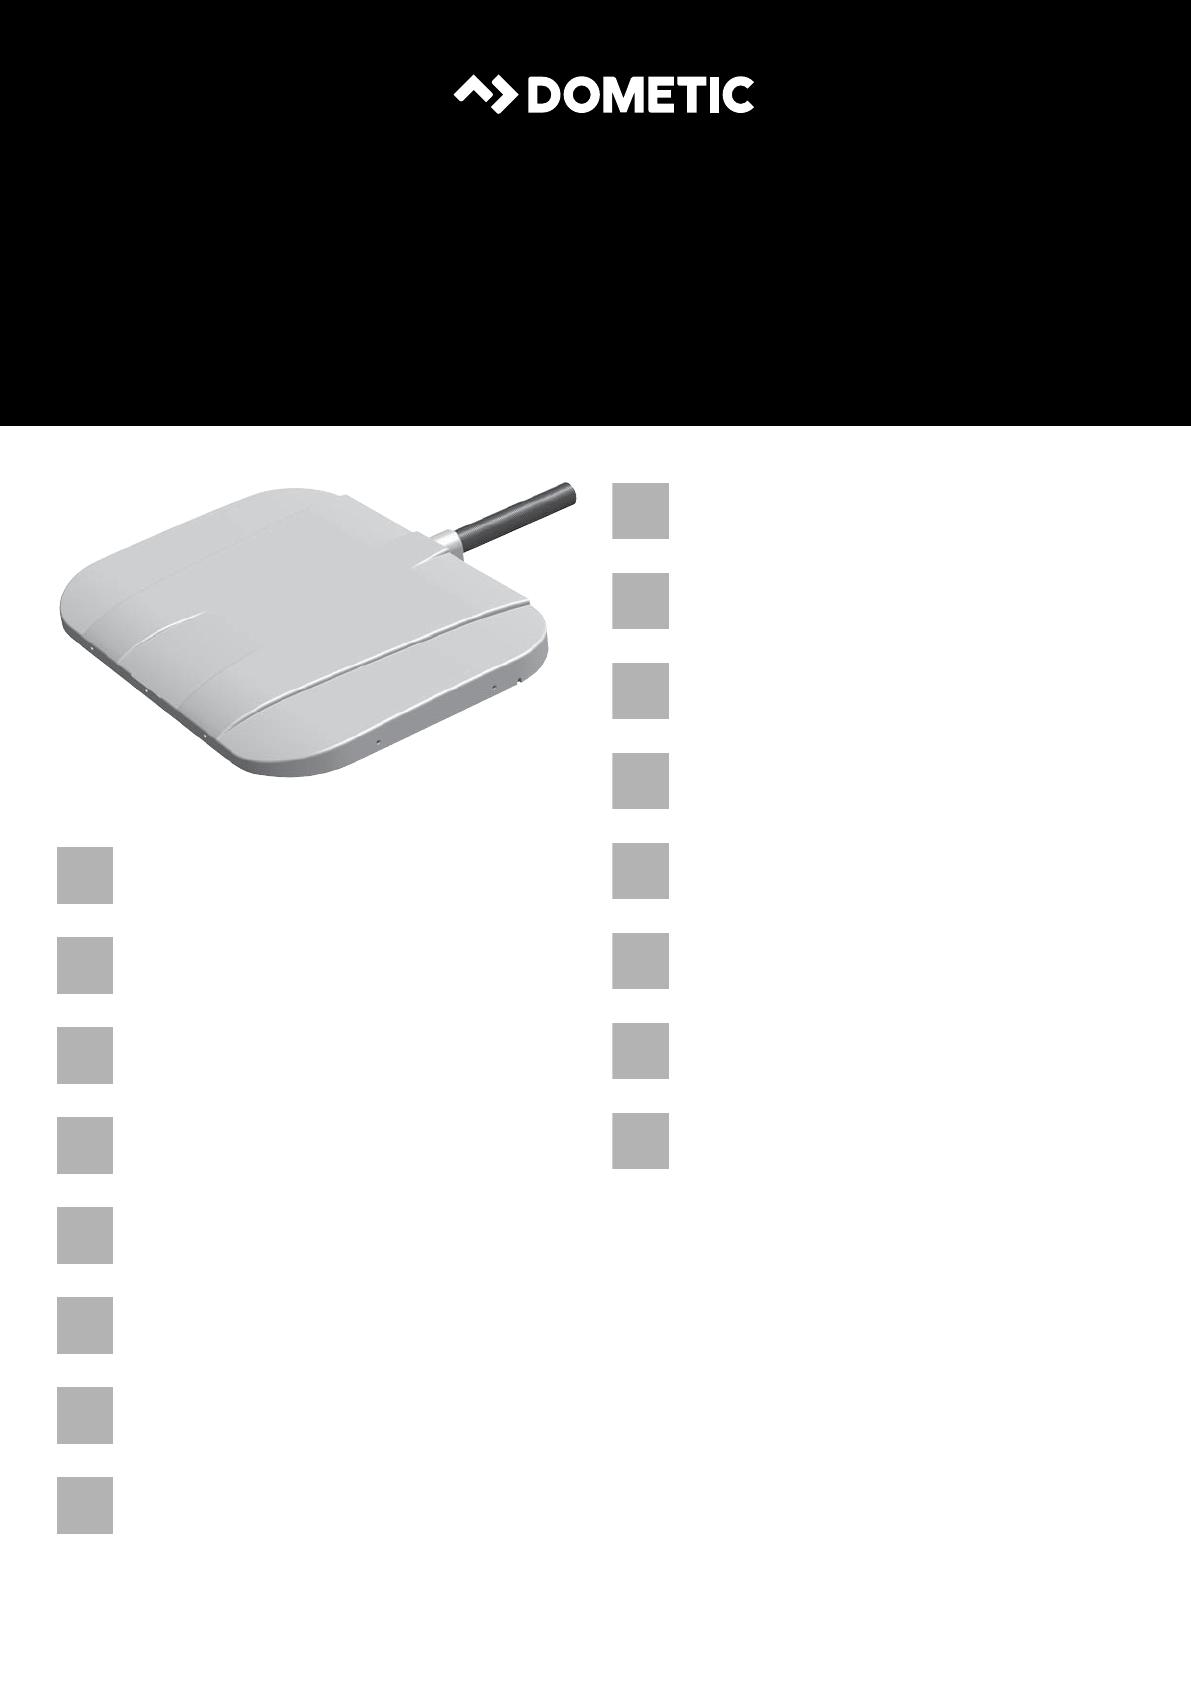
SP950T
Assembly kit for
MAN TGX,TGS (XXL, XLX, XL, LX)
Installation Manual . . . . . . . . . . . . . . . . . . 9
Montagesatz für
MAN TGX,TGS (XXL, XLX, XL, LX)
Montageanleitung . . . . . . . . . . . . . . . . . 25
Kit de montage pour
MAN TGX,TGS (XXL, XLX, XL, LX)
Instructions de montage. . . . . . . . . . . . . 43
Juego de montaje para
MAN TGX,TGS (XXL, XLX, XL, LX)
Instrucciones de montaje . . . . . . . . . . . . .61
Kit de montagem para
MAN TGX,TGS (XXL, XLX, XL, LX)
Instruções de montagem . . . . . . . . . . . . 79
Set di montaggio per
MAN TGX,TGS (XXL, XLX, XL, LX)
Indicazioni di montaggio . . . . . . . . . . . . 96
Montageset voor
MAN TGX,TGS (XXL, XLX, XL, LX)
Montagehandleiding . . . . . . . . . . . . . . .114
Monteringssæt til
MAN TGX,TGS (XXL, XLX, XL, LX)
Monteringsvejledning . . . . . . . . . . . . . 132
Monteringssats för
MAN TGX,TGS (XXL, XLX, XL, LX)
Monteringsanvisning . . . . . . . . . . . . . . . 150
Monteringssett for
MAN TGX,TGS (XXL, XLX, XL, LX)
Monteringsanvisning . . . . . . . . . . . . . . . 167
Asennussarja malleihin
MAN TGX,TGS (XXL, XLX, XL, LX)
Asennusohje . . . . . . . . . . . . . . . . . . . . . . 183
Монтажный комплект для
MAN TGX,TGS (XXL, XLX, XL, LX)
Инструкция по монтажу . . . . . . . . . . . 200
Zestaw montażowy do
MAN TGX,TGS (XXL, XLX, XL, LX)
Instrukcja montażu . . . . . . . . . . . . . . . . . 218
Montážna súprava pre
MAN TGX,TGS (XXL, XLX, XL, LX)
Návod na montáž . . . . . . . . . . . . . . . . . 236
Montážní sada pro vozidla
MAN TGX,TGS (XXL, XLX, XL, LX)
Návod k montáži. . . . . . . . . . . . . . . . . . 253
Szerelőkészlet a következőkhöz:
MAN TGX,TGS (XXL, XLX, XL, LX)
Szerelési útmutató . . . . . . . . . . . . . . . . .270
SP950T-MAN--I-16s.book Seite 1 Dienstag, 5. Februar 2019 4:05 16


