DE
DE - 12 DE - 13
• Stellen Sie die Glaskanne auf die Platte unter den Filter.
• Schließen Sie die Filterkaffeemaschine an das Stromnetz an und drücken Sie eine
beliebige Taste auf dem Bedienfeld. Das Display zeigt 12:00 (Sie können die Uhrzeit
später einstellen).
• Drücken Sie die Taste z. Die rote Anzeige leuchtet auf, um das Aufheizen und
die Kaffeezubereitung anzuzeigen. Dabei wird nur das Wasser erhitzt und in die
Glaskanne durchgefiltert.
• Sobald das gesamte Wasser durchgefiltert wurde, drücken Sie zweimal
hintereinander die Taste z. Die Filterkaffeemaschine schaltet sich aus und
wechselt nach ca. zwei Minuten in den Standby-Modus.
• Die Filterkaffeemaschine ist jetzt einsatzbereit.
Zubereitung von Filerkaffee
• Öffnen Sie den oberen Deckel und gießen Sie Wasser in den Behälter gemäß der
gewünschten Kaffeemenge. Die seitliche Markierung zeigt den Wasserstand an,
der etwa der Tassenanzahl entspricht.
• Legen Sie den Filter für gemahlenen Kaffee in das Fach ein und geben Sie die
erforderliche Menge gemahlenen Kaffee hinein.
• Schließen Sie die Filterkaffeemaschine an das Stromnetz an und drücken Sie eine
beliebige Taste auf dem Bedienfeld. Drücken Sie die Taste z. Die rote Anzeige
leuchtet auf, um das Aufheizen und die Kaffeezubereitung anzuzeigen.
• Sobald das gesamte Wasser durchgefiltert wurde, drücken Sie die Taste z. Die
blaue Anzeige leuchtet, um anzuzeigen, dass die Temperatur des gemahlenen
Kaffees aufrechterhalten wird.
• Die Filterkaffeemaschine schaltet sich nach 35 Minuten automatisch aus, oder Sie
können sie durch erneutes Drücken der Taste ausschalten z.
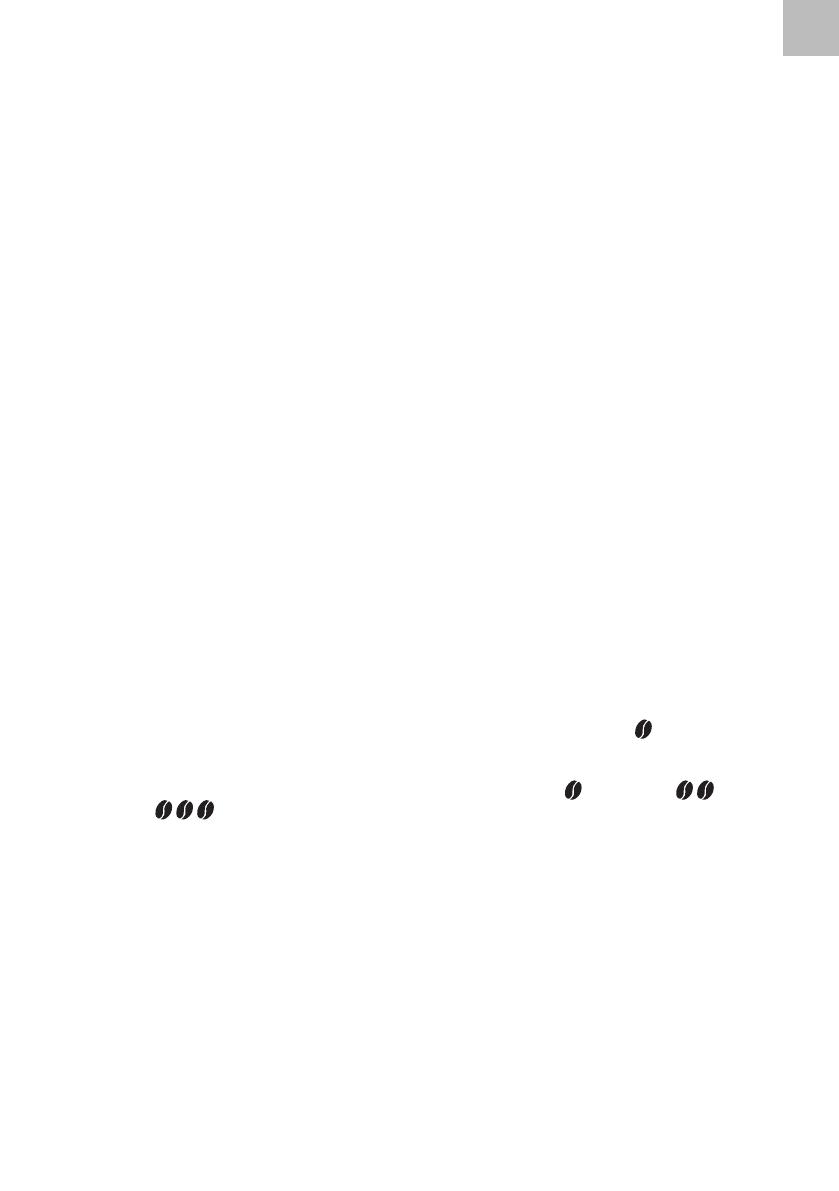
Einstellung der Kaffeeintensität
Die Filterkaffeemaschine ermöglicht eine Einstellung der Intensität des gemahlenen
Kaffees. Das Prinzip basiert auf dem Zeitintervall, in dem die Extraktion von gemahle-
nem Kaffee stattfindet – je länger der Kaffee in Wasser eingeweicht wird, desto inten-
siver wird sein Geschmack. Die Filterkaffeemaschine bietet drei Intensitätsstufen, die
auf dem Display durch die Anzahl von Kaffeebohnen dargestellt sind ( ). Befolgen
Sie die folgenden Schritte, um die Einstellung durchzuführen:
• Starten Sie die Filterkaffeemaschine.
• Drücken Sie mehrmals die Taste MODE, um die niedrige ( ), mittlere ( ) oder
hohe ( ) Intensität einzustellen.
• Beginnen Sie mit der Kaffeezubereitung wie oben beschrieben.
Hinweis: Die Kaffeeintensität muss vor der Kaffeefilterung eingestellt werden.
Uhrzeiteinstellung
Das Einstellen der Uhr ist besonders wichtig, um die zeitgesteuerte Kaffeezubereitung
zu einem bestimmten Zeitpunkt einzustellen. Um die Uhr einzustellen, gehen Sie wie
folgt vor:
• Drücken Sie einmal die Taste PROG, um in den Modus CLOCK zu gelangen. Der
Modusname wird auf dem Display angezeigt.
• Stellen Sie mit den Tasten HOUR (Stunde) und MIN (Minute) die richtige Uhrzeit
ein. Das Gerät kehrt nach einiger Zeit automatisch in den Standby-Modus zurück,
ohne dass weitere Aktionen durchgeführt werden müssen.


