En
Fr
De
It
Es
Ca
Eu
Pt
El
Da
Nl
No
Sv
Fi
Ru
Uk
Lv
Lt
Et
Pl
Cs
Sk
Sl
Hr
Hu
Ro
Bg
Tr
Ar
Fa
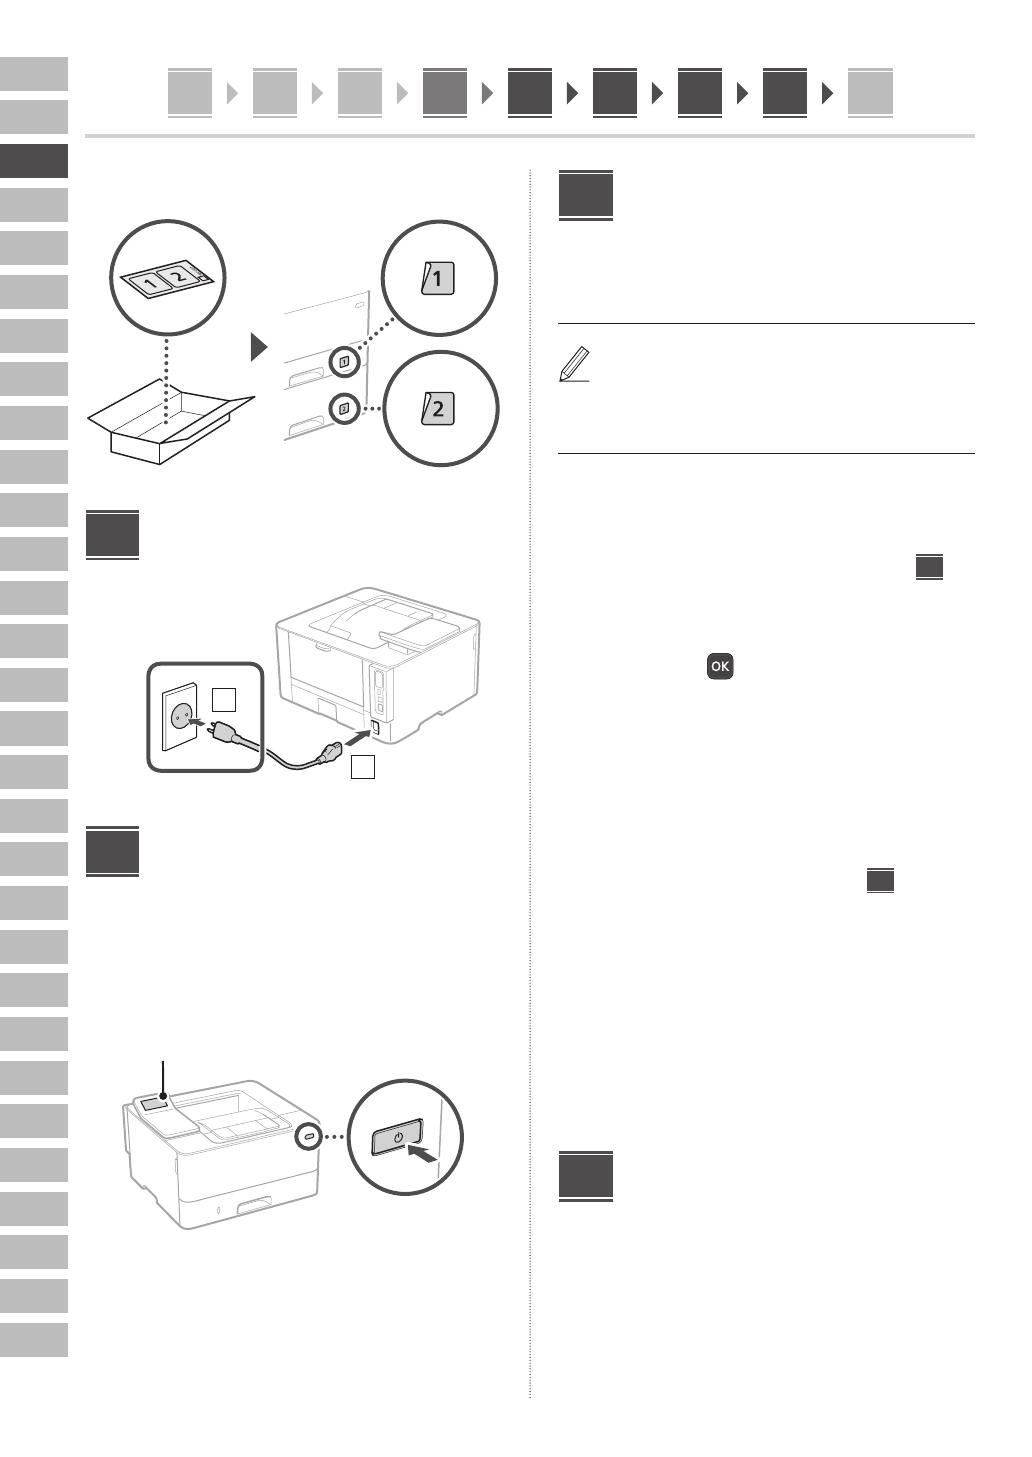
123456789
16
345678912
5.
Anschließen des Netzkabels
1
2
Rückseite
Festlegen der
Grundeinstellungen
Wenn Sie das Gerät zum ersten Mal einschalten, erscheint
die Installationsanleitung auf dem Bedienfeld. Führen Sie
die Erstkonfiguration des Geräts durch, indem Sie die
Anweisungen auf dem Bildschirm befolgen.
Bedienfeld
1. Wählen Sie die Sprache, das Land oder die
Region und dann die Zeitzone.
2. Wählen Sie das aktuelle Datum bzw. die
Uhrzeit.
5
6
Festlegen der
Sicherheitseinstellungen
Um unbefugten Zugriff auf das Gerät zu verhindern, legen
Sie Zugriffseinschränkungen für Remote UI fest.
Was ist Remote UI?
Mit Remote UI können Sie über den Webbrowser Ihres
Computers den Betriebsstatus des Geräts prüfen und
Einstellungen ändern.
1. Um die Remote UI zu verwenden, wählen
Sie <Ja>.
Um fortzufahren, ohne die Remote UI zu verwenden,
wählen Sie <Nein>, und fahren Sie mit Schritt
8
fort.
2. Lesen Sie die Erklärung zur Verwendung
des allgemeinen Anwendermodus, und
drücken Sie .
3. Um den allgemeinen Anwendermodus zu
verwenden, wählen Sie <Ja>.
• Richten Sie die PIN ein, die von allgemeinen
Anwendern für den Zugriff auf die Remote UI
verwendet werden soll.
• Um fortzufahren, ohne den allgemeinen
Anwendermodus zu verwenden, wählen Sie
<Nein>, und fahren Sie mit Schritt 8 fort.
4. Richten Sie die PIN für den Zugriff auf die
Remote UI ein.
• Geben Sie eine beliebige Zahl ein, und wählen
Sie dann <Anwenden>.
• Geben Sie im nächsten Bildschirm dieselbe PIN
zur Bestätigung erneut ein, und wählen Sie
<Anwenden>.
* Vergessen Sie nicht Ihre PIN.
Festlegen der
Netzwerkeinstellungen
Legen Sie die Einstellungen für den Anschluss des Geräts
an ein Netzwerk fest. Bevor Sie fortfahren, müssen Sie
prüfen, ob der Computer und der Router korrekt an das
Netzwerk angeschlossen sind.
• Sie können ein kabelgebundenes LAN und drahtloses
LAN nicht gleichzeitig verwenden.
7
8


